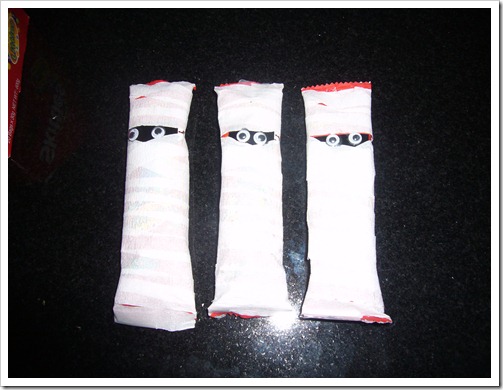
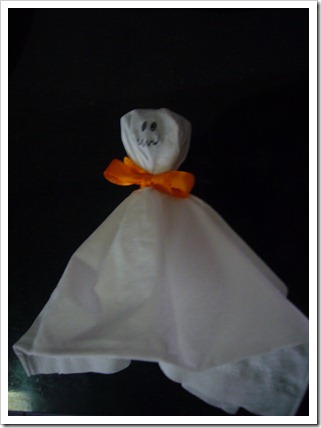
My daughter has been helping me make Halloween decorations. She loves to make things so it has been fun to do some fun crafts with her.
Craft #1
Jack-O-Lantern Luminary
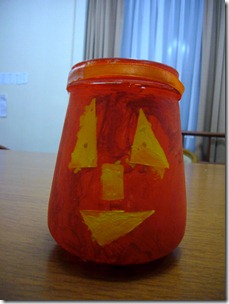
I had an empty glass jam jar that I cleaned and dried. I asked my daughter what kind of face she wanted on her jar. She wanted triangle eyes, a square nose, and a triangle mouth. I cut the shapes out of masking tape and put in on the jar. She painted the jar orange. Then she peeled off the tape and painted the face parts yellow. I wanted her to leave them clear so that the candlelight would shine through better but she insisted on painting them in…can’t argue with a 4-year old. She could hardly wait for the paint to dry so we could put in a votive candle. Here’s the end result.

Craft #2
Empty Box Mummies
I saw a tutorial for some empty box mummies using an old white sheet and google eyes. The tutorial is
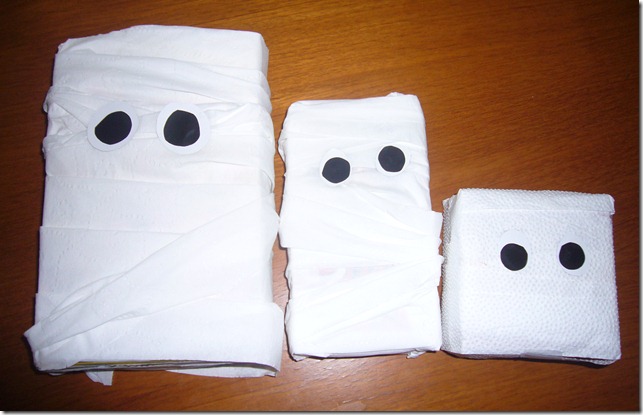
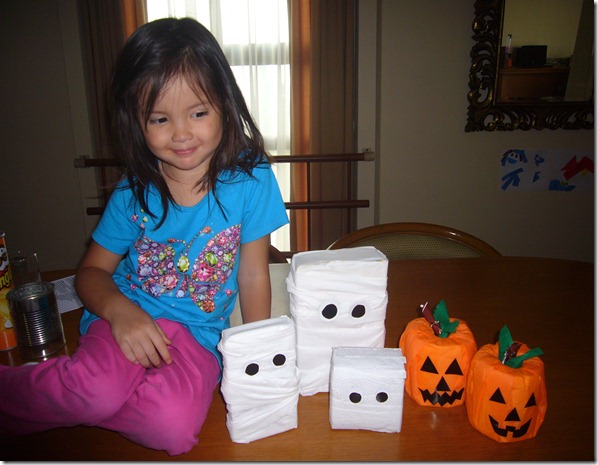
here if you want to see the original. I thought they were adorable! I had different sizes of empty boxes. My daughter picked out 3 that she liked. We used toilet paper to wrap our boxes. I unrolled a long piece. Then I folded it in half so it would be thicker and not as wide. My daughter taped one end and we started wrapping the boxes. We wrapped along the top and sides of the box first and then around the middle. Periodically I put in a couple of pieces of tape to hold the toilet paper in place. I cut some round white circles from scrap paper. Then I cut out some smaller black circles and glued them to the white circles. Then my daughter glued the eyes to the wrapped boxes. I thought they turned out really well. The smallest box is actually wrapped with a folded paper towel. We tried that first, but it didn’t work all that well.
Craft #3
Toilet paper jack-o-lanterns
I have seen fabric-wrapped toilet paper pumpkins before. I also came across
this tutorial explaining how to make tissue-paper wrapped pumpkins. Instead of rolling the paper around the toilet paper rolls and tucking in both ends, I thought the pumpkins looked a little better if I just placed the toilet paper roll in the middle of the sheet of tissue paper and then tucked in the paper through the top. I cut a small strip of green crepe paper for the leaves. I had my daughter crumple a piece of brown origami paper for the stem which we also stuffed through the top. Instead of drawing on jack-o-lantern faces with a marker, I cut some face parts out of black paper. My daughter told me what kind of faces she wanted for the pumpkins. Here my daughter is posing with the box mummies and the jack-o-lanterns.
Craft #4
Pringles Can Frankenstein
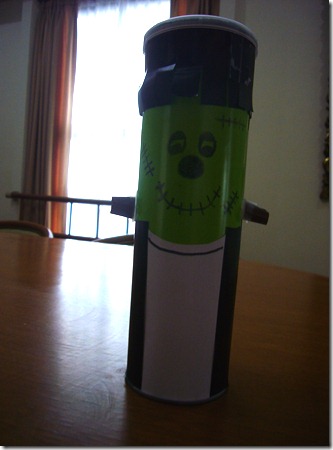
I had an empty pringles can that I thought we could decorate as a Frankenstein. We wrapped green paper around the tube for the face. We cut a strip of black paper and my daughter fringed it for the hair. Then we wrapped most of the bottom part of the can with black paper and put in a strip of white paper with a little scoop cut out at the top to make his clothes. I drew in the face with a black marker. I also attached some brown rolled paper to the sides of the neck. Here’s the end result.
I had so much fun making these crafts with my 4-year old. It didn’t really cost us much to make these decorations. The only thing I purchased that I didn’t already have was the orange tissue paper. There are so many creative ideas out there for recycled crafts so get your creative juices flowing and go make something! Happy Crafting and Happy Halloween!
